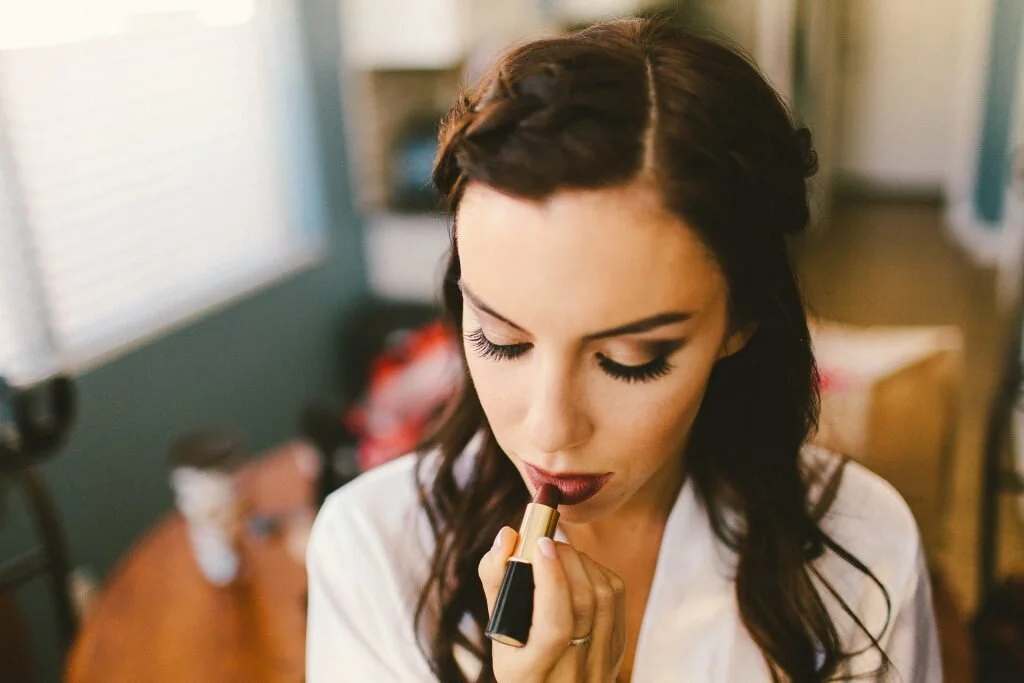
Perfecting Skin Tones
Skin tones are hard to perfect. However, it’s probably the biggest focus for most photographers. White Balance, Color/HSL Panel, Camera Calibration and Split Toning are four great tools that you can use to help perfect skin tones. Let’s see how these four editing tools can help you perfect your subjects skin tones!
1. White Balance
White balance is the first of a few bricks needed to get good skin tones. When you are adjusting your white balance one of the most important things to focus on is the skin, and how the temperature and tint are affecting the subject’s skin tone.
If you cool an image down to the point where your whites are white but your subjects face looks cold and sickly, it’s easiest to correct the white balance to bring “life-like” colour back into a face.
Another part of white balance is tint. If the tint of your of your image is too green, it will give your skin tones a cast over them that isn’t realistic. For a scenario like that, you can play with the magenta to add a more life-like dimension. Here's more tips and tricks about creating good white balance!
2. Color/HSL Panel
The color and HSL panel has 3 different modes. So it’s important to know how each mode can help you achieve the perfect skin tone.
Saturation: Saturation could be defined as the intensity of a color. As you increase the sliders the colour will become more intense, and as you pull it back it will become more subdued. Sometimes a person can appear far too orange or red, but by pulling back the red, yellow and orange sliders you can achieve a much subtler skin tone. Reds/magenta are important ones to watch because male subjects tend to shoot a lot more red.
Luminance: Luminance is the brightness of a colour. You can make colours brighter to make them stand out more, or darker to subdue them. Depending on how bright the colour was when you first shot, reducing the luminance may also increase saturation, and increasing it may reduce saturation. Luminance is great to help your skin tones with tricky lighting situations, especially in lower light scenarios where you might need to lighten up skin tones so they don't look dull!
Hue: Effects the attribute of the colour. You will notice that each colour in the hue panel has a spectrum ranging from one colour to another. If you move the slider on the hue panel you will change that colours pixels to be a variation of the shade depending on what you pull the hue slider. Hue is especially important to combat reflective light, especially in forests or instead of having your oranges toward the green hue that will enhance the green light reflecting pull it a bit more toward the red to get a more realistic skin tone!

3. Camera Calibration
One of our favourite tricks, that we have been using a LOT in the studio lately is the camera calibration color sliders to correct and enhance skin tones.
We tend to use the blue primary slider the most as we find it gives a rich color to the skin tones. We achieve rich skin tones by moving the blue primary slider left. Doing this brings a red in the skin that when corrected either by tint or hue brings a really great tone to the skin. Depending on what you want your skin tone to look like, taking time to experiment with the different sliders to see what works for you. Take caution in doing this as adjusting these sliders will make global adjustments to colour not targeted ones to skin tones!

4. Split Toning
The number one request we get is to help photographers create a “creamy” skin tone. The easiest way to do that is through split toning. If you’re not fulling confident in Lightroom, split toning can seem like a scary thing. However, it is really an easy process!
When working on skin tones with split toning, you’ll want to work with the highlight and balance slider. To add cream, yellow and orange hues are the best to choose from to create the warmth you’re looking for. Make sure your saturation isn’t too high, or you won’t get the look you’re going for. Use the balance slider to showcase your highlights by moving it over to the left. You can check this article we recently wrote on split toning for more information!
These are just a few ways you can use to get better skin tones in your images, try using them on their own or try mixing a matching them to see what you can come up with. These are by no means the only way to achieve good skin tones, they are just a few of many ways to do things!
